
Now included! Design templates available for Milwaukee Packouts. More to come!
Quick Start
- Step 1 - Get Started
- Step 2 - Prepare Your Scan Plate
- Step 3 - Scan Your Gear
- Step 4 - Review and Download
- Step 5 - Design Your Insert and Place An Order
Register for free to access our full suite of features, including complimentary tokens to kick-start your journey.
Register
Download and print the scan plate template suitable for your gear size and printer capacity. This step is necessary in order to get an accurate size of the object.
Standard 8.5x11" paper can be used to scan objects up to 6" wide and 8.5" high
Standard Size Download
Tabloid (11"x17") can be used to scan objects up to 7.5" wide and 13.5" high
Tabloid Size Download
A3+ (13"x19") can be used to scan objects up to 8.5" wide and 14.5" high
A3 Size Download
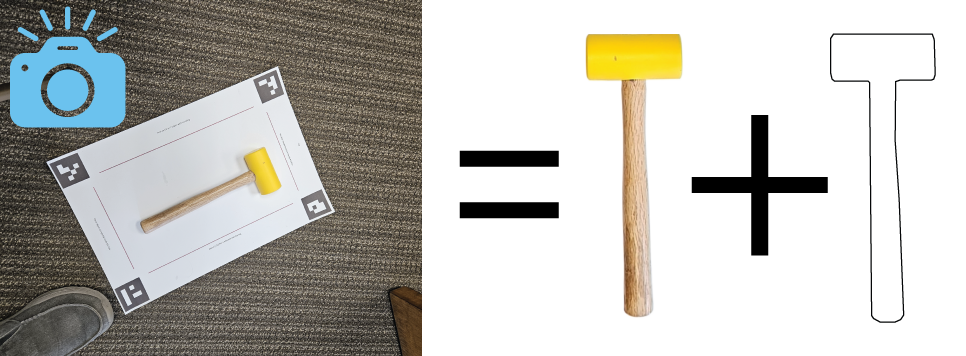
Place the scan plate on the floor or desk and place your object within the box on the scan plate. Ensure the entire setup is within your camera's frame. Hit the Capture button for an instant photo and outline.
Take as many pictures as you need to get the perfect scan - no charge!
Scan
Head over to the Library page to manage and review your scans. Download both the image (PNG) and the outline (SVG) of your objects - both for just 1 token.
Library
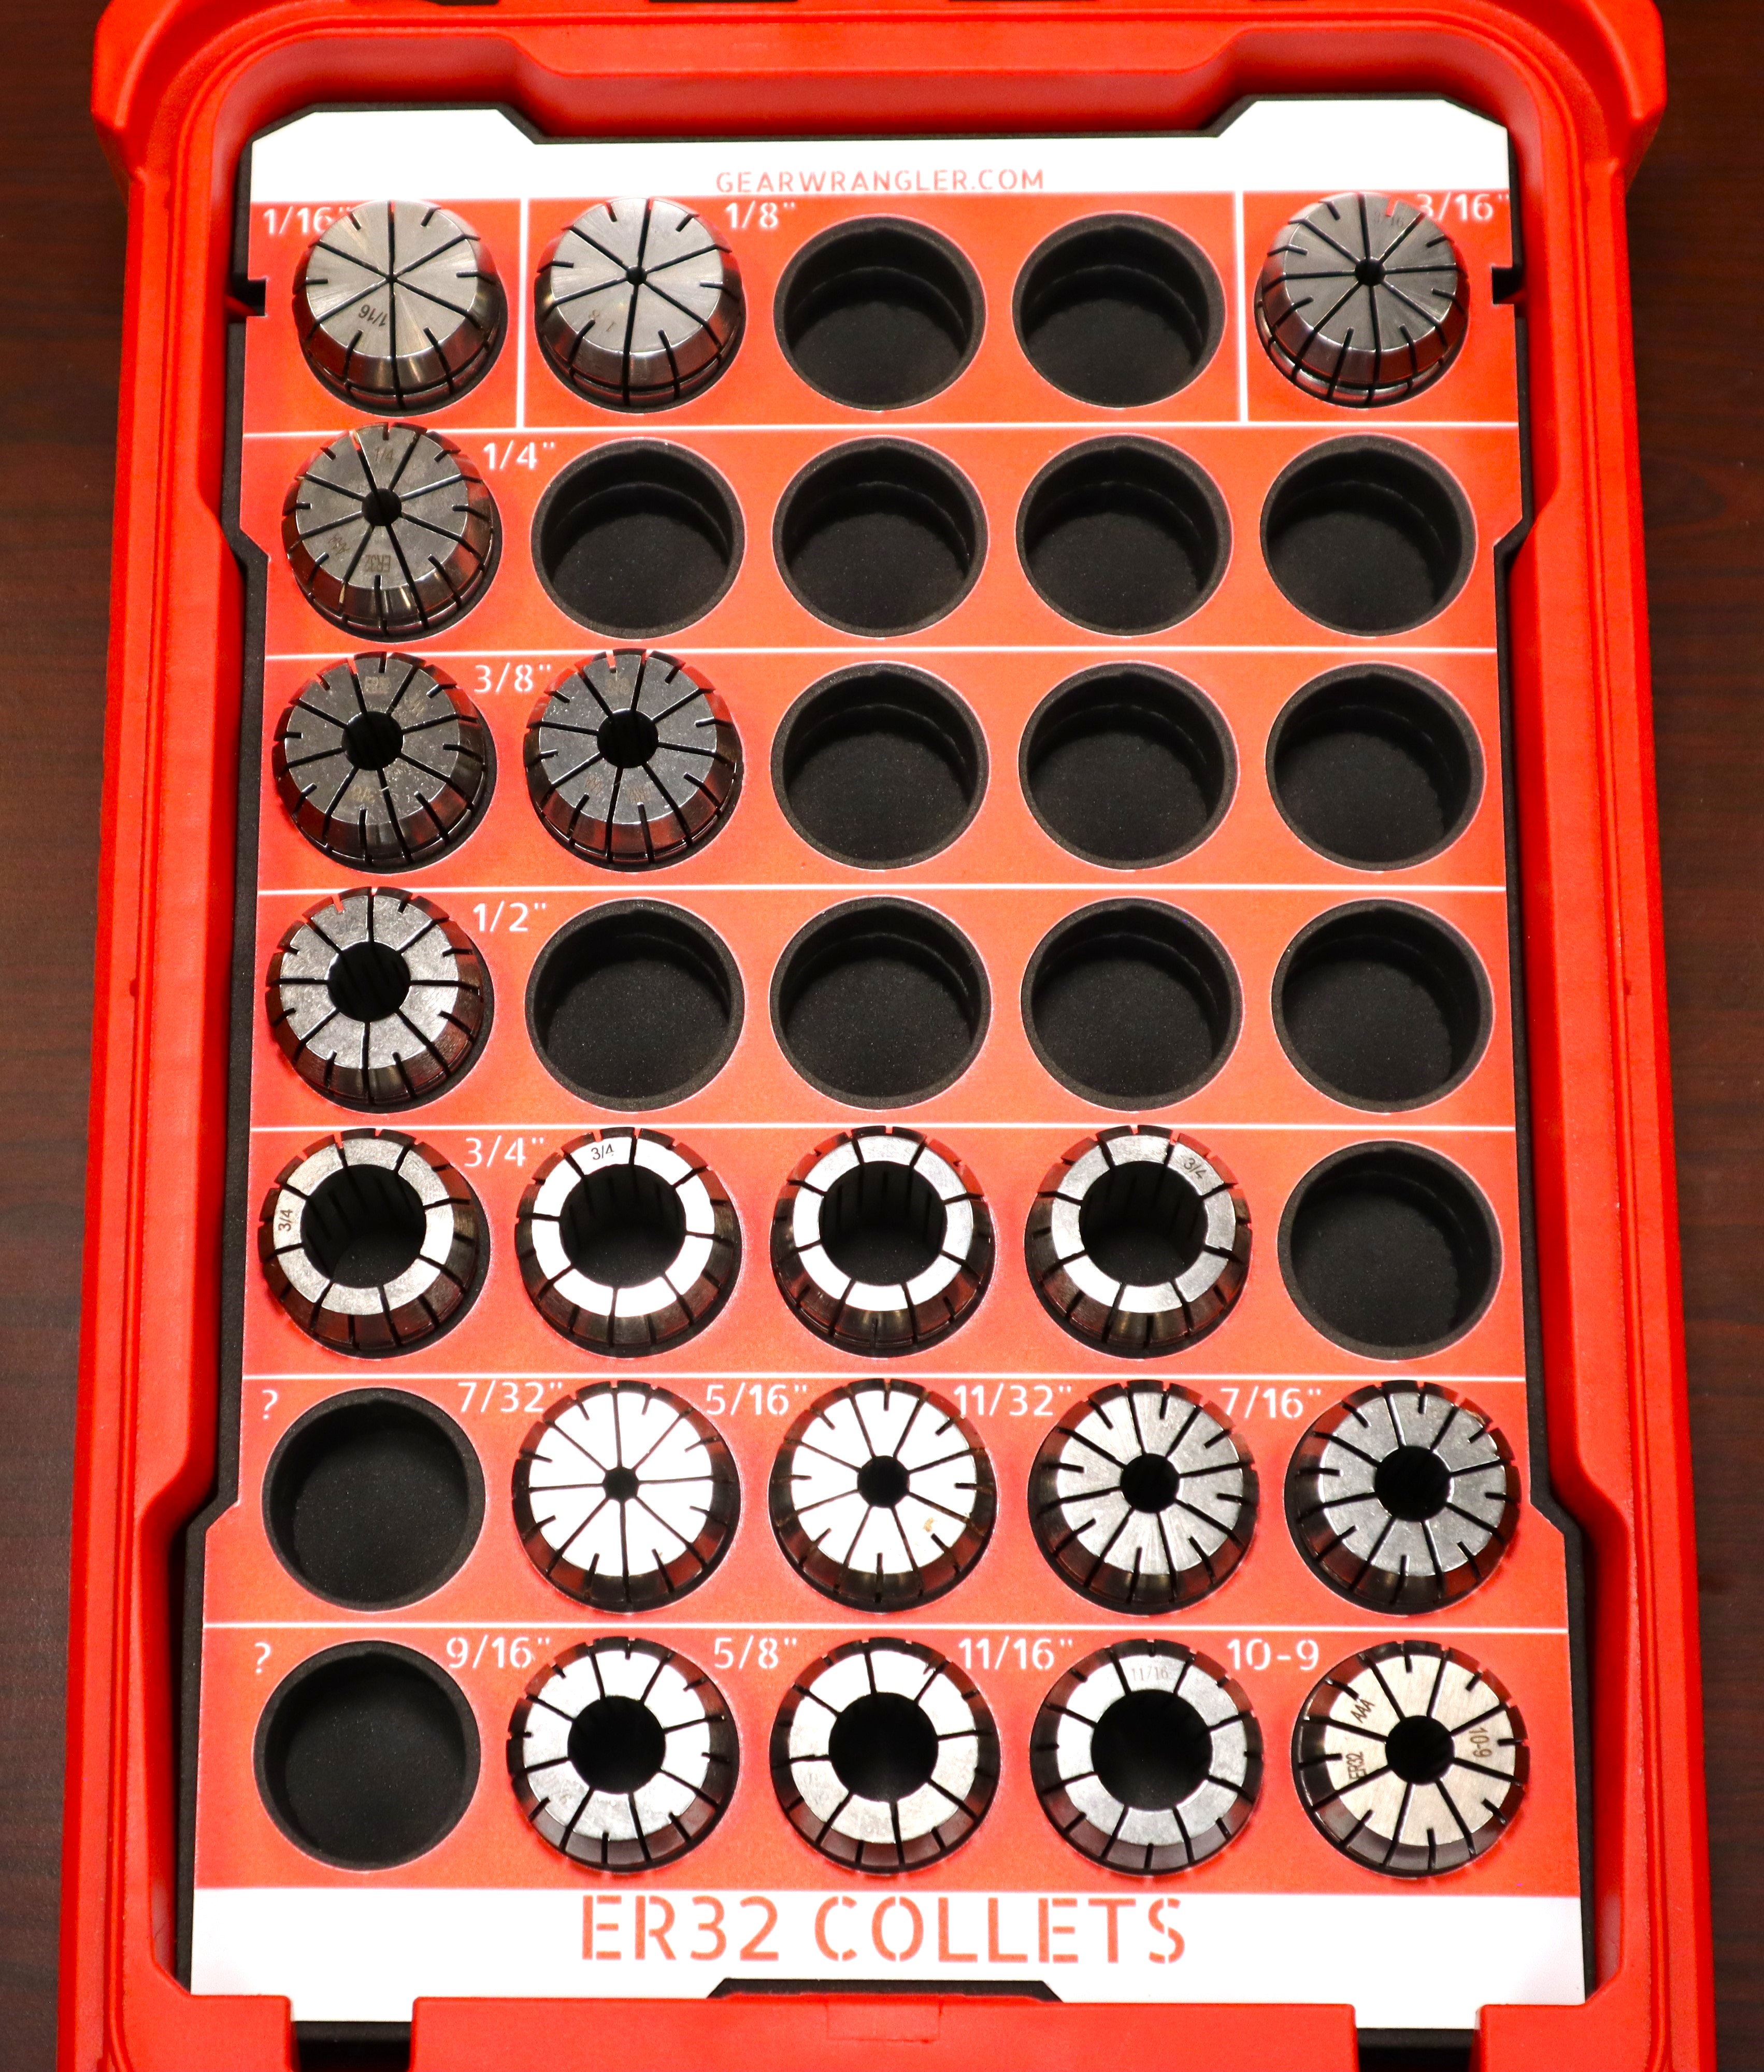
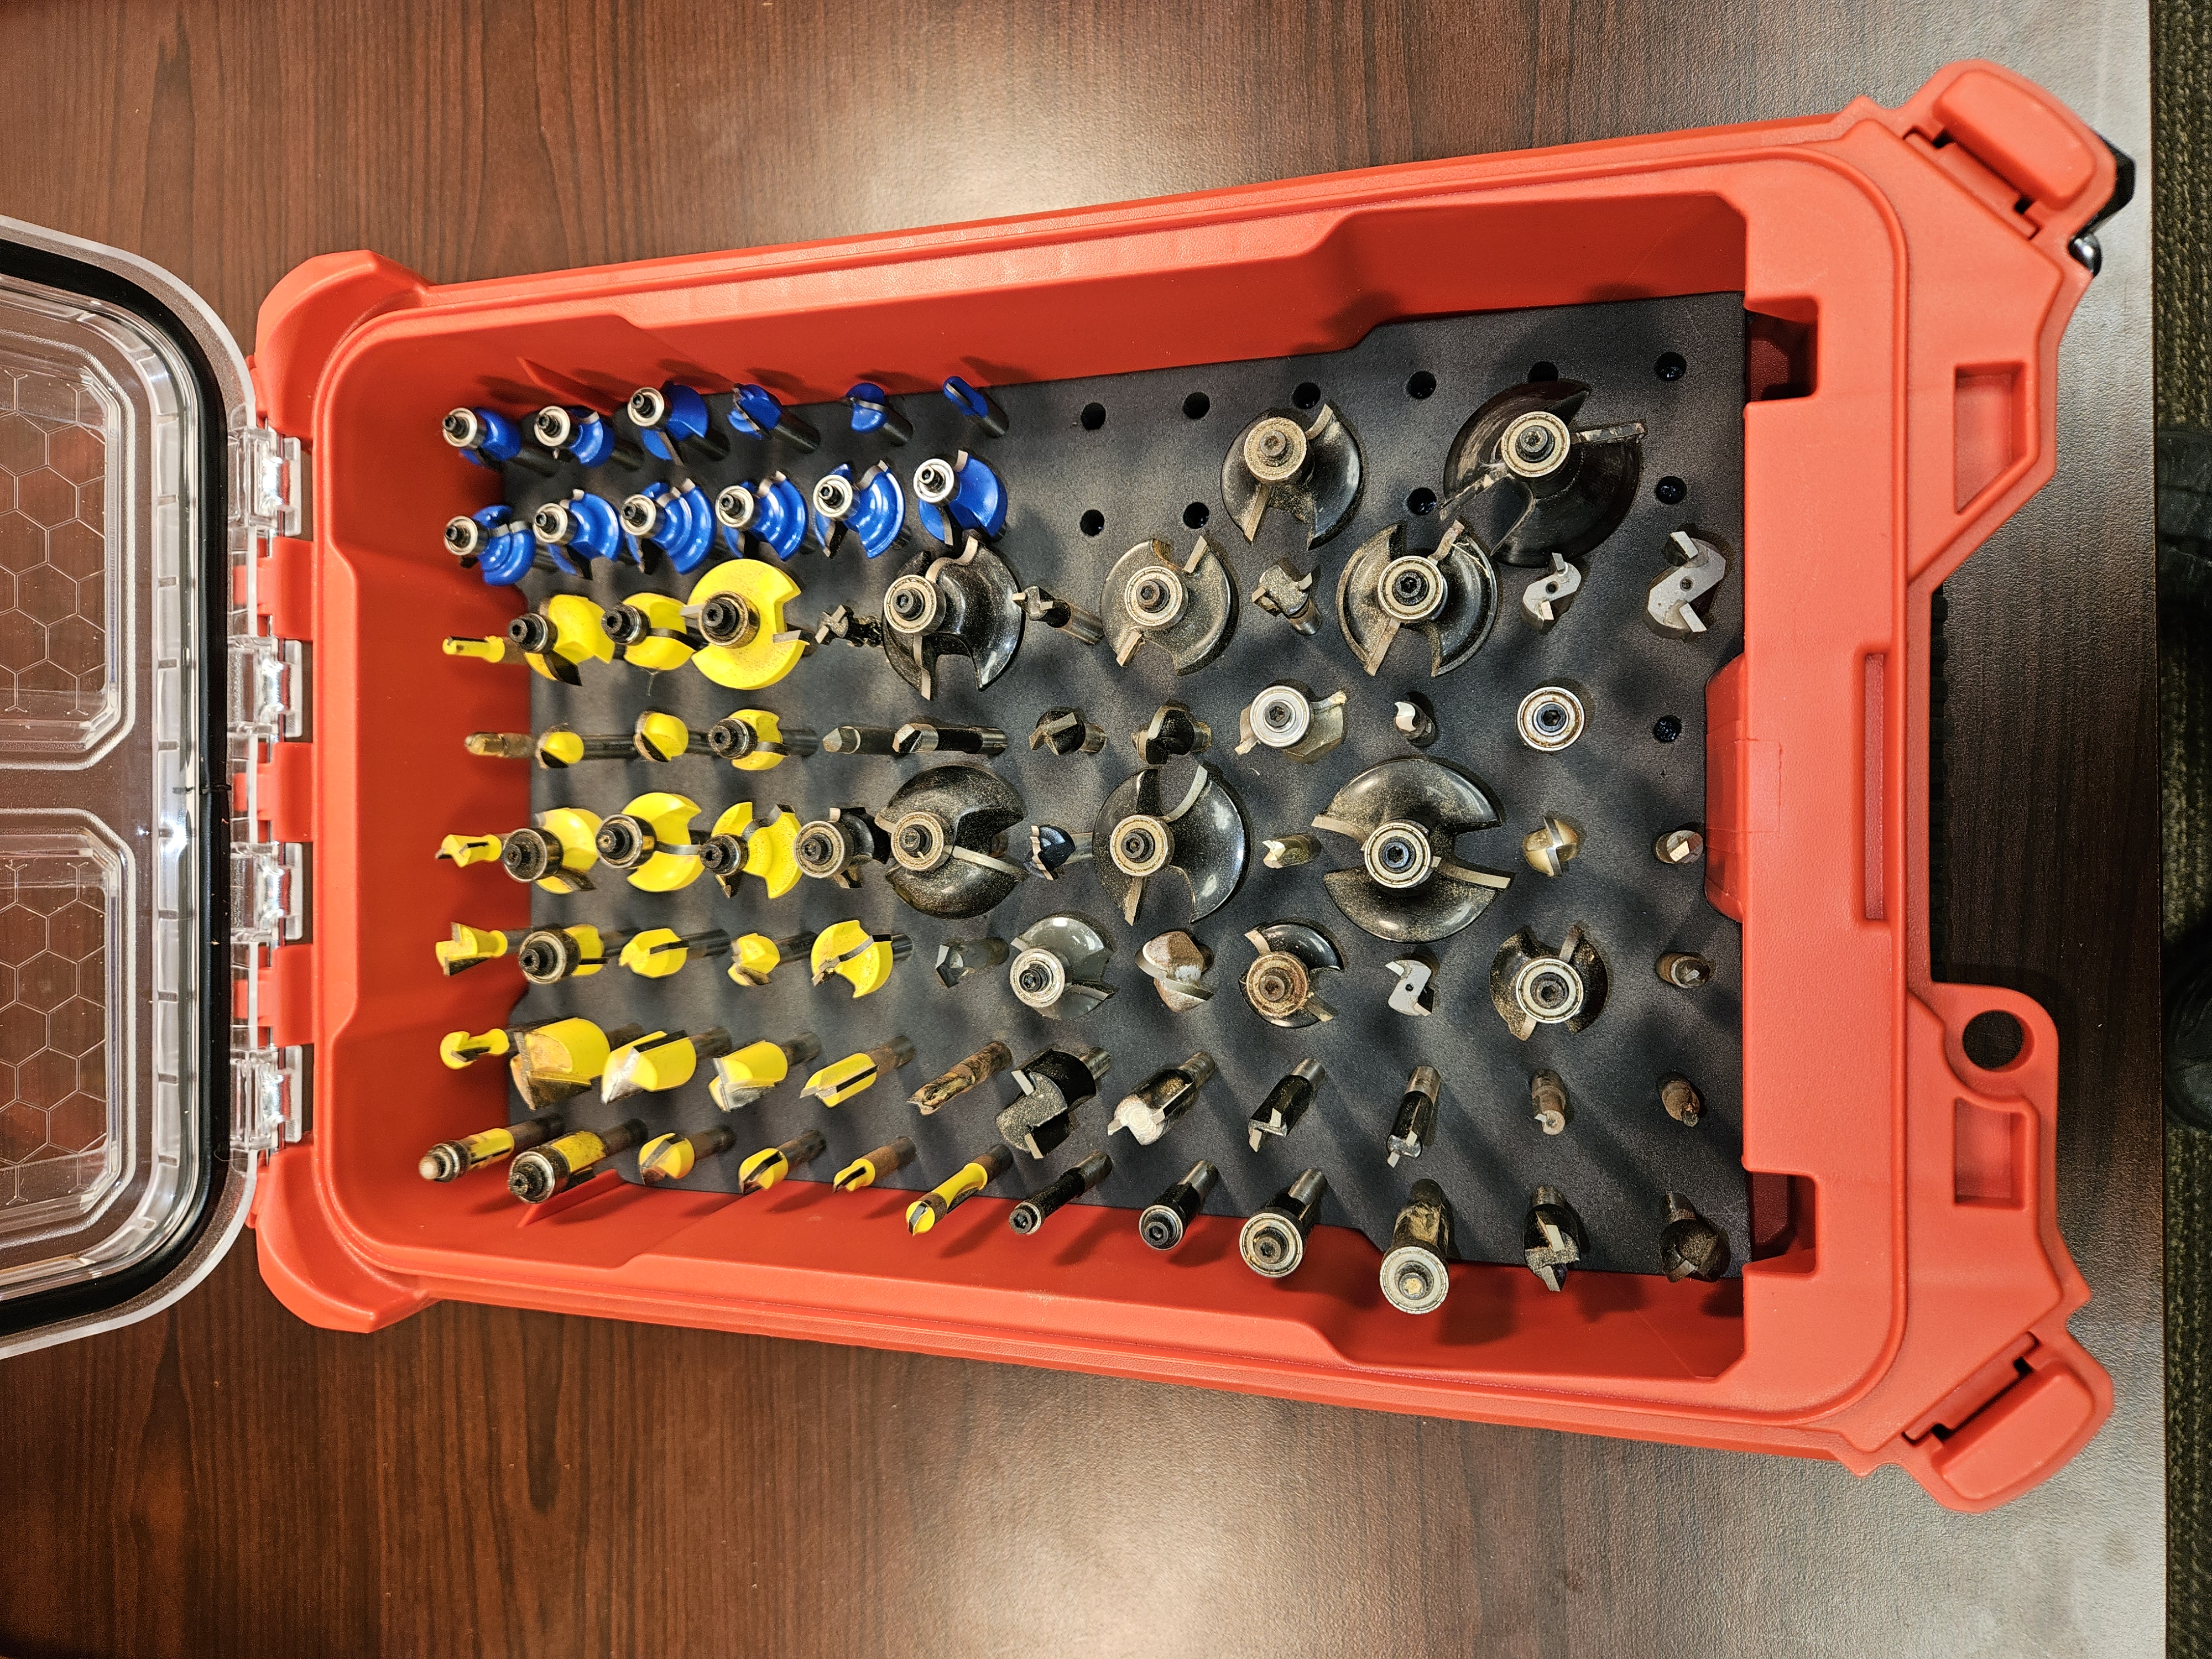
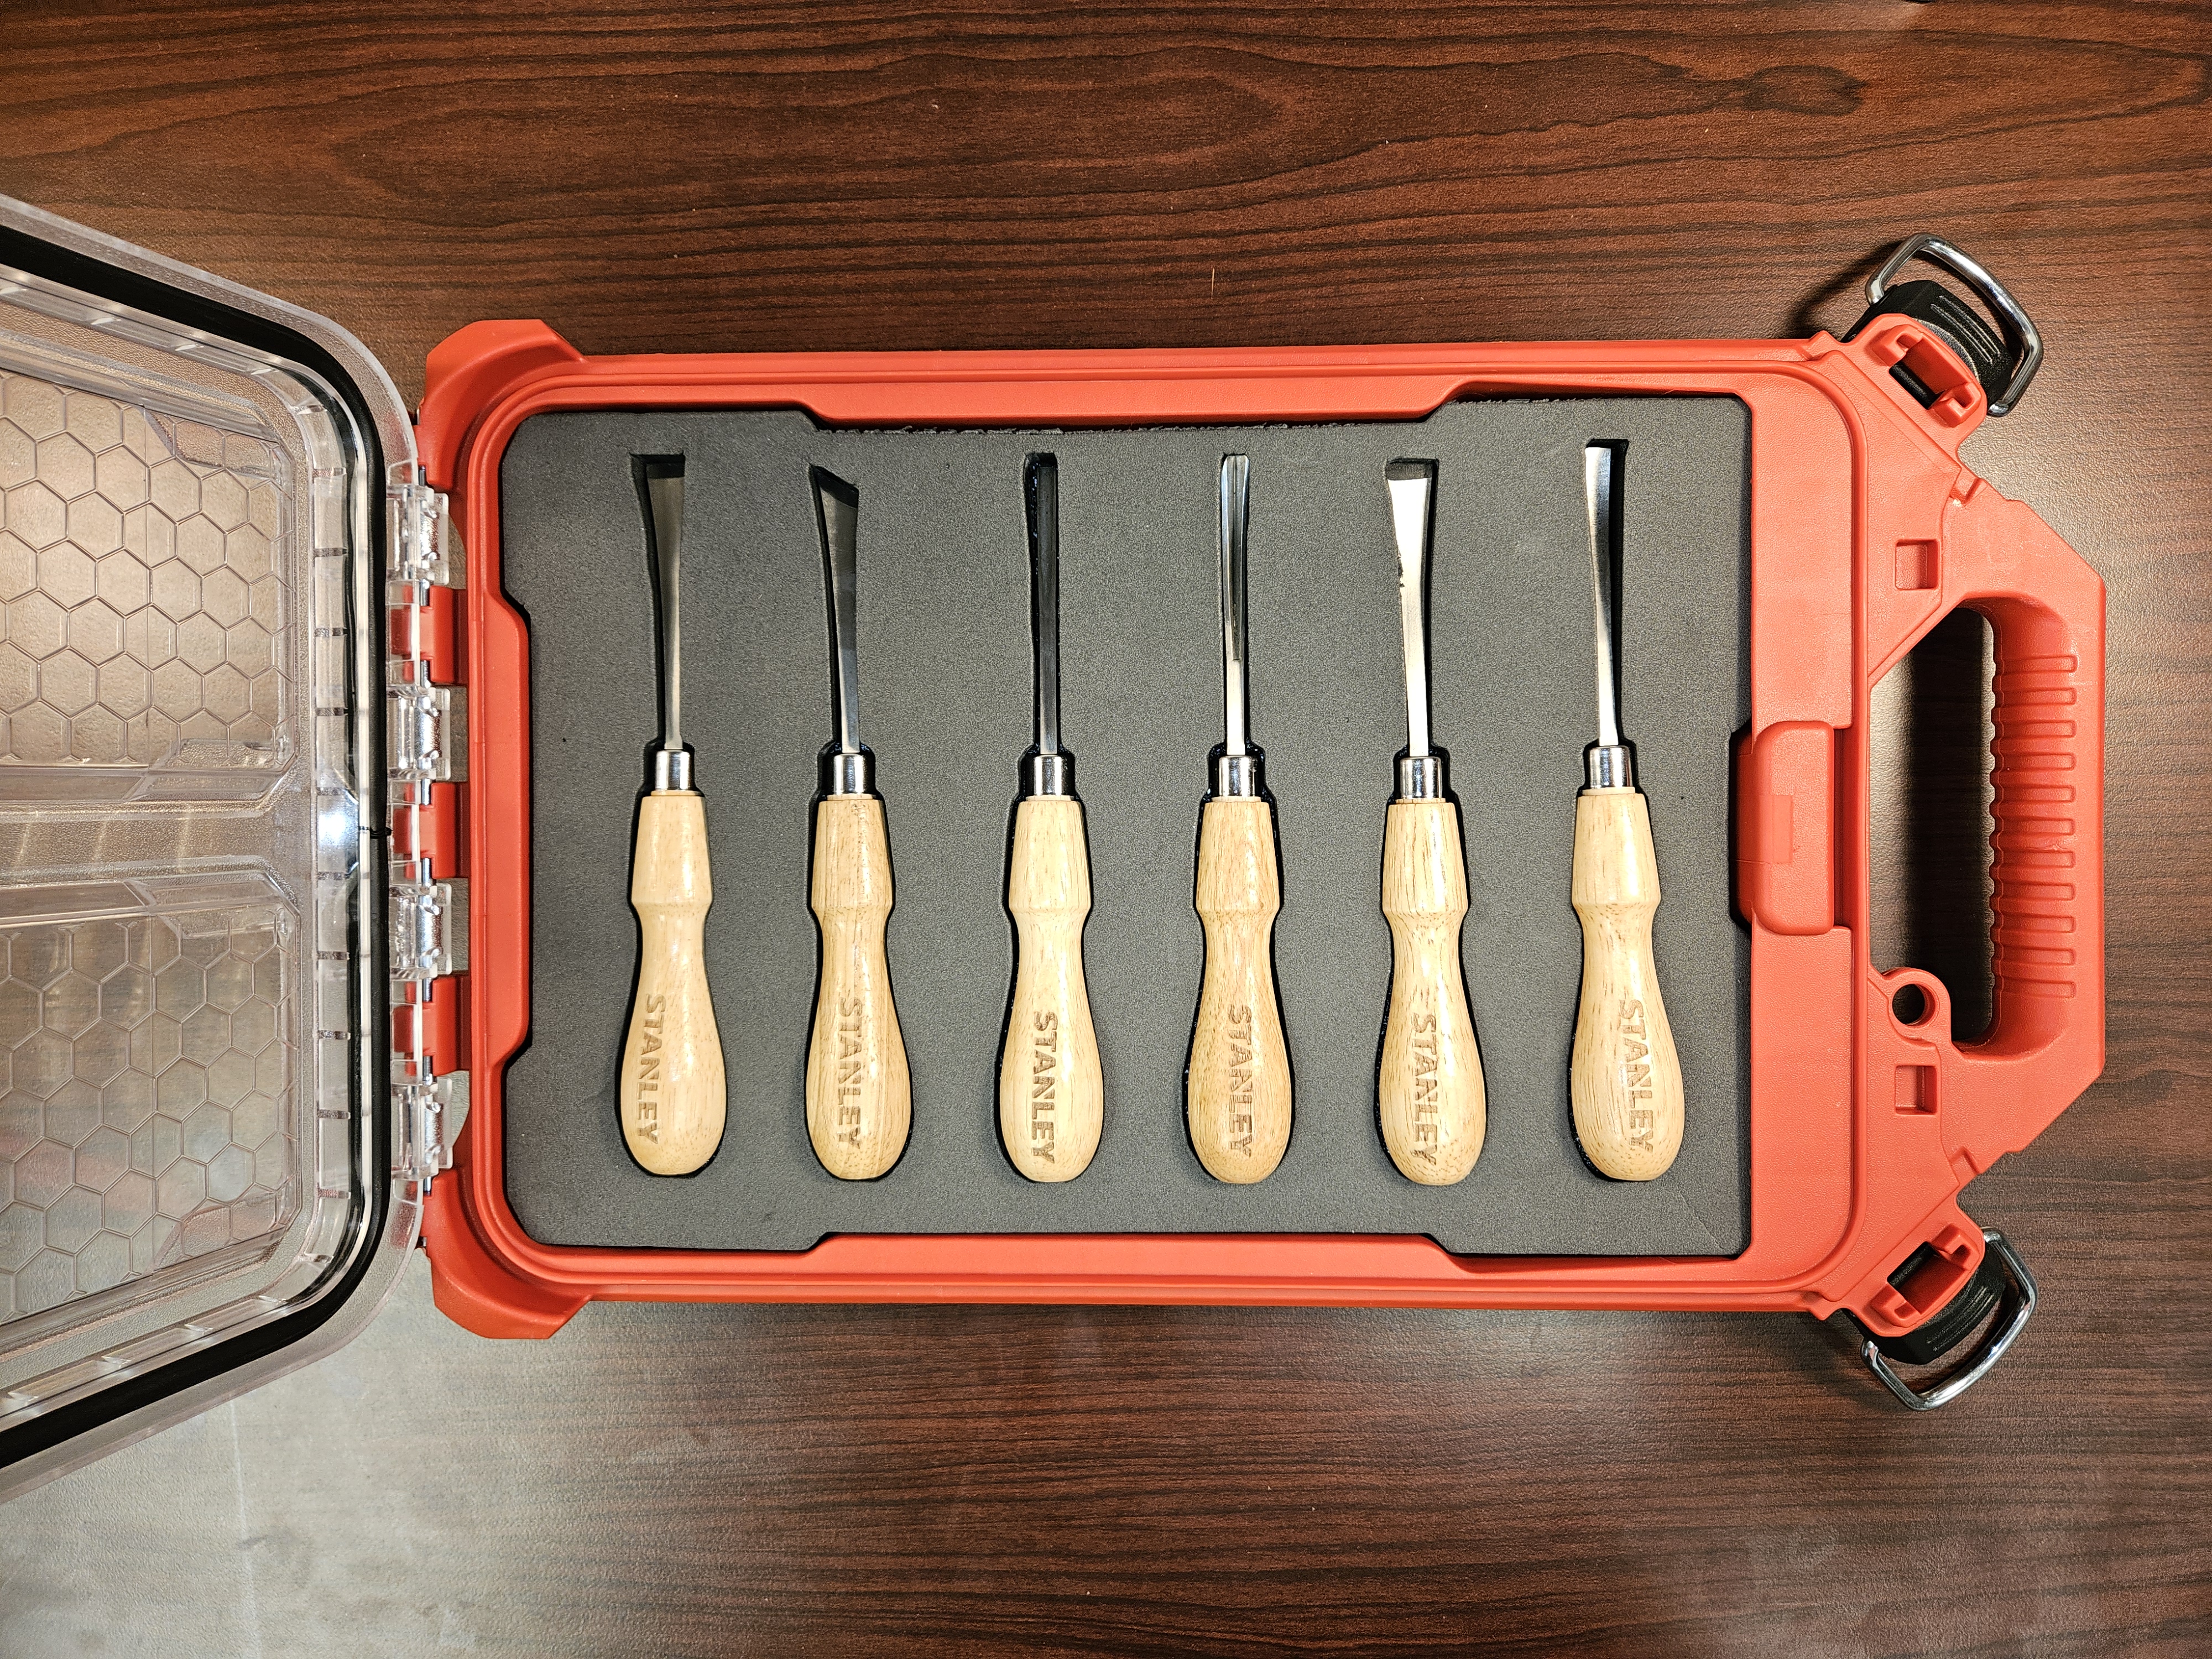
Want us to make your foam insert? Head over to our full-featured foam insert designer and create your own custom insert. Drag-n-drop your gear onto one of our templates or create a design of any size. Once you're happy with the design you've created, click the Create Quote button to get a fast quote on your custom foam insert shipped directly to you.
Designer